Onboarding Journeys
Part of Lifecycle programme measurement
Measuring time to value across onboarding cohorts
Define a first useful result, align onboarding cohort clocks and compare both time to value and the share of customers who reach it.
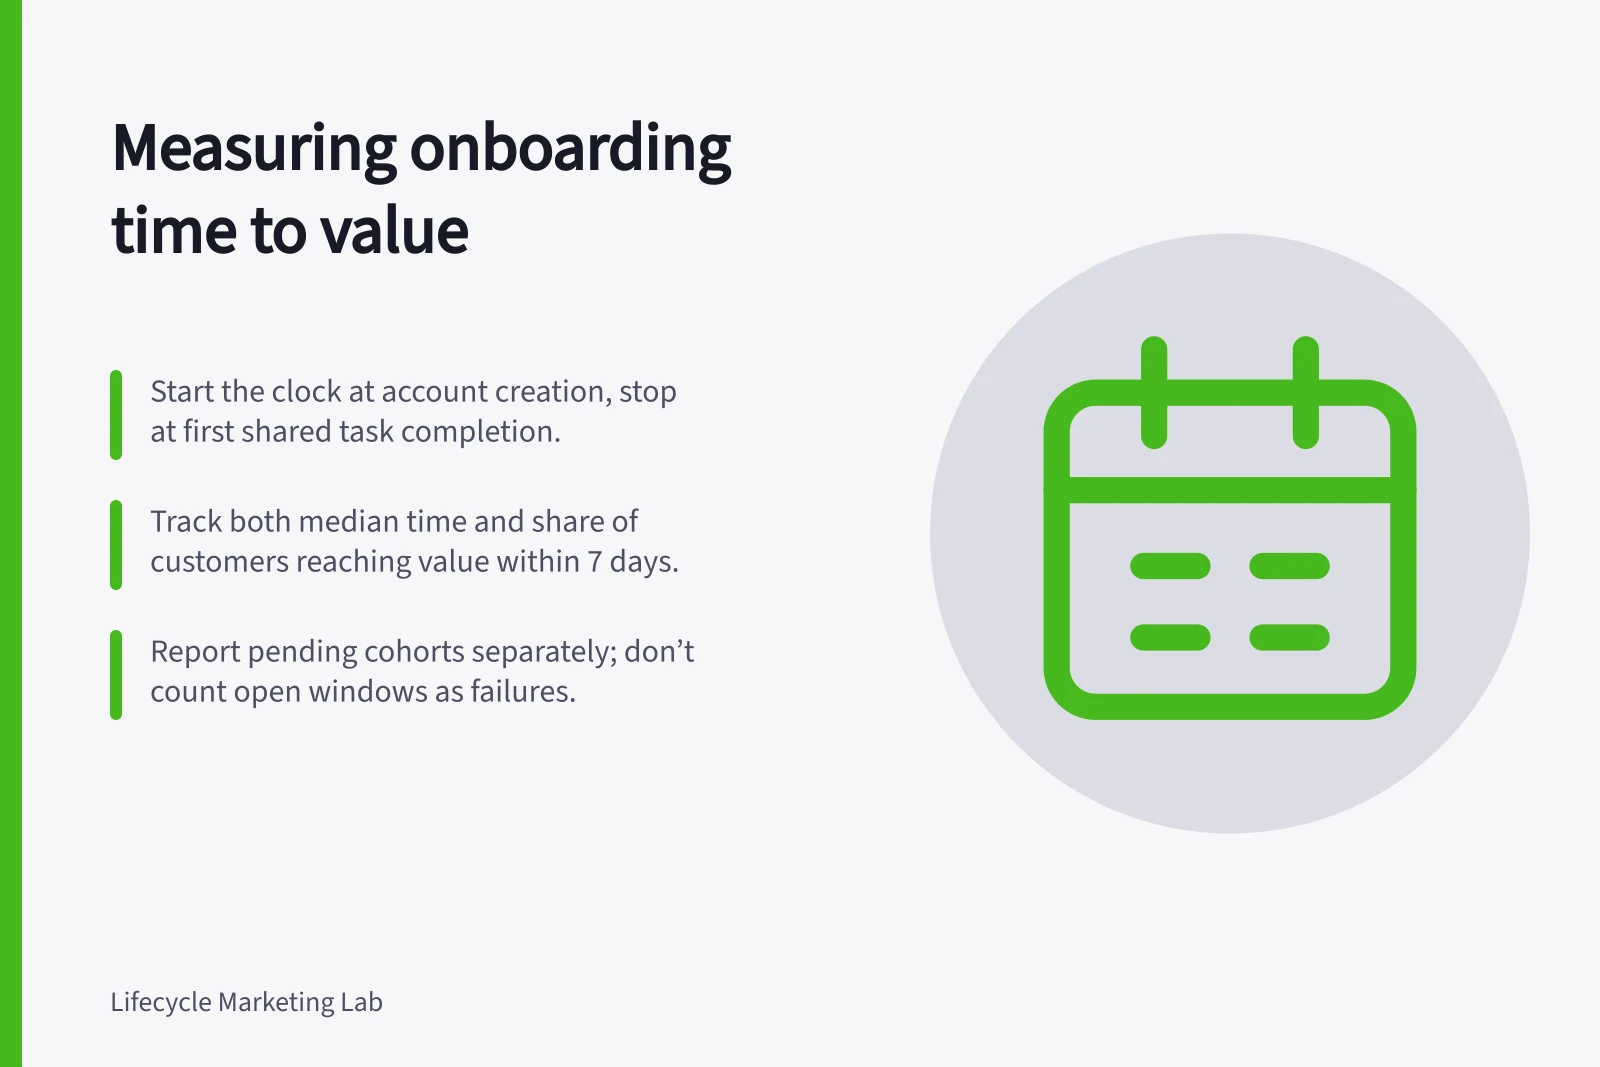
Start each customer's clock at the same defined entry point and stop it at a verified first useful result. Give every cohort equal opportunity to reach that result. Report both the share that reached it and elapsed time; a time figure for successful customers alone hides everyone still waiting.
Define the result and the clock
Choose a result tied to the task the customer joined to accomplish. In a hypothetical team workspace, account creation gives access, while completing a first shared task might be a candidate value event. It remains a proxy if the product cannot tell whether that result was useful to the team.
Write a start-and-finish rule: source event, person or account ID, occurrence timestamp, required properties and confirmed outcome. If entry types have materially different tasks, define and report their results separately. This article compares elapsed time across cohorts; measuring completion by customer type is a separate question.
Group customers by when they first became eligible for the onboarding path. Retain their entry type even if their role or plan later changes.
Choose elapsed hours or calendar days and use that basis consistently. For a shared product, decide whether the clock belongs to a person or an account.
Defining the Onboarding Clock: Key Steps
- Define the first useful resultCompleting a shared task in the team workspace
- Set start eventAccount creation with verified email
- Set end eventFirst completed shared task with team members
- Choose time unitCalendar days (consistent across cohorts)
Keep open windows visible
A useful record contains entry time, confirmed result time if any, last reliable observation time and status: reached value, still under observation, full window ended without a confirmed result, or data uncertain. Keep event occurrence time separate from system receipt time. A late event can change the measured interval without changing when the customer acted.
Choose a follow-up window that fits the task. If an illustrative window is seven days, a cohort that entered yesterday is still pending. Do not compare its partial result with a cohort observed for the full seven days as though both were final.
Report speed and coverage together
For each cohort with a complete window, show eligible units, verified results within the window and the resulting share. Show median elapsed time among units that reached the result within that window, with that condition in the label.
A faster median may simply reflect fewer difficult cases reaching the result. The share reaching value by a fixed time exposes that possibility.
Show newer cohorts separately as pending. If an analytical method includes customers with shorter observation, it must account for that incomplete observation and use reliable event and observation times.
Do not count an open window as a completed failure. Methods for censored observations can help, but require analytical support.
Before explaining a change, check whether the customer mix, task, product release or event feed changed. Examine slow and unconfirmed cases, including work completed outside the tracked product. A shorter time after a message change is an observed difference, not proof that the message caused it.